How to Use a Reed Diffuser
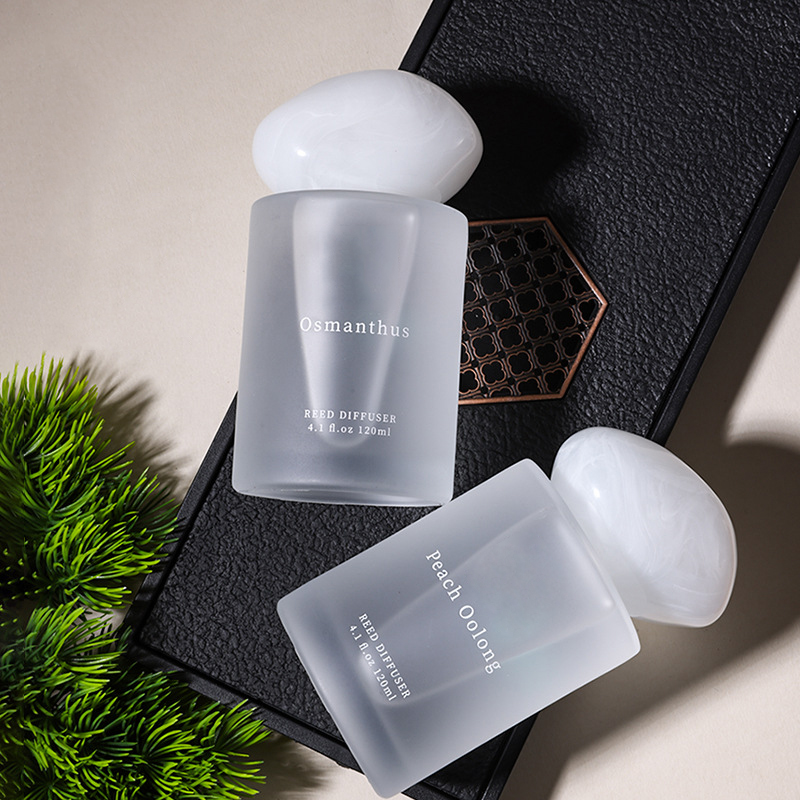
Mastering Home Fragrance: The Ultimate Guide on How to Use a Reed Diffuser
Creating a signature scent for your living space is more than just a luxury; it’s an essential part of curated home styling. Among the myriad of options available, the home reed diffuser has emerged as the gold standard for those seeking a consistent, "set-it-and-forget-it" fragrance experience. Unlike candles that require a flame or electric diffusers that need water and power, reed diffusers utilize the elegant science of capillary action to disperse aroma naturally and safely.
However, simply uncorking a bottle and dropping in some sticks isn't always enough to achieve that perfect olfactory ambiance. Whether you are searching for the best non toxic reed diffuser to keep your family safe or looking to fill a grand hallway with a big reed diffuser, understanding the nuances of setup and maintenance is key. In this comprehensive guide, we will walk you through every step to ensure your home remains a fragrant sanctuary.
Step 1: Selecting the Right Diffuser for Your Space
Before you even open a bottle, success starts with selection. The market is saturated with options, but not all are created equal.
Prioritize Safety and Purity
For health-conscious individuals, finding the best non toxic reed diffuser is the first priority. Look for formulations that are free from phthalates, parabens, and sulfates. High-quality diffusers often use a base of essential oils or clean-burning synthetic fragrances mixed with a carrier oil that is VOC-compliant. This ensures that the scent you breathe in is as pure as it is pleasant, making it safe for households with children, pets, or those with sensitive respiratory systems.
Match the Size to the Room
Size matters significantly in the world of aromatherapy. A standard 100ml or 200ml bottle is perfect for powder rooms, small home offices, or bedside tables. However, if you are trying to scent a high-ceilinged living room or an open-concept kitchen, you should opt for a big reed diffuser. Large-capacity vessels—ranging from 500ml to a staggering 2 liters—not only serve as a stunning visual centerpiece but also accommodate more reeds, which increases the surface area for fragrance evaporation, ensuring the scent doesn't get "lost" in a large volume of air.
Step 2: The Art of Initial Setup
Once you have chosen your perfect home reed diffuser, the setup process determines how well the fragrance will perform over its lifespan.
- The Uncorking Ceremony: Carefully remove the stopper or cork. Some high-end bottles feature a decorative collar; remove this first, take out the seal, and then replace the collar for a polished look.
- Reed Insertion: Place the reeds into the bottle. While your instinct might be to use all the sticks provided, you can actually use this as a "volume knob." For a smaller room or a lighter scent, start with 5 or 6 sticks. For maximum impact, especially with a big reed diffuser, use the full set (usually 8 to 12).
- The "First Soak" Technique: This is the most common step people skip. After inserting the reeds, let them sit for about 30 to 60 minutes. Then, carefully flip the reeds so the "dry" ends are now in the oil and the "wet" ends are exposed to the air. This primes the capillary action and provides an immediate burst of fragrance.
- Patience is a Virtue: It can take up to 24 hours for the oil to fully saturate the length of the reeds and begin diffusing at a stable rate. Resist the urge to add more oil or move the bottle constantly during this window.
Step 3: Strategic Placement for Maximum Scent Throw
Placement is the difference between a faint hint of scent and a beautifully enveloped room. The movement of air is the primary vehicle for your home reed diffuser.
- Follow the Airflow: Place your diffuser in a high-traffic area—such as a hallway, entrance, or near a doorway. The natural motion of people walking past creates air currents that help circulate the fragrance molecules throughout the house.
- The "Goldilocks" Zone: Avoid placing the bottle on a windowsill in direct sunlight or right next to an air conditioning vent. Excessive heat will cause the oil to evaporate far too quickly, while a direct blast from a fan might dissipate the scent before it has a chance to settle.
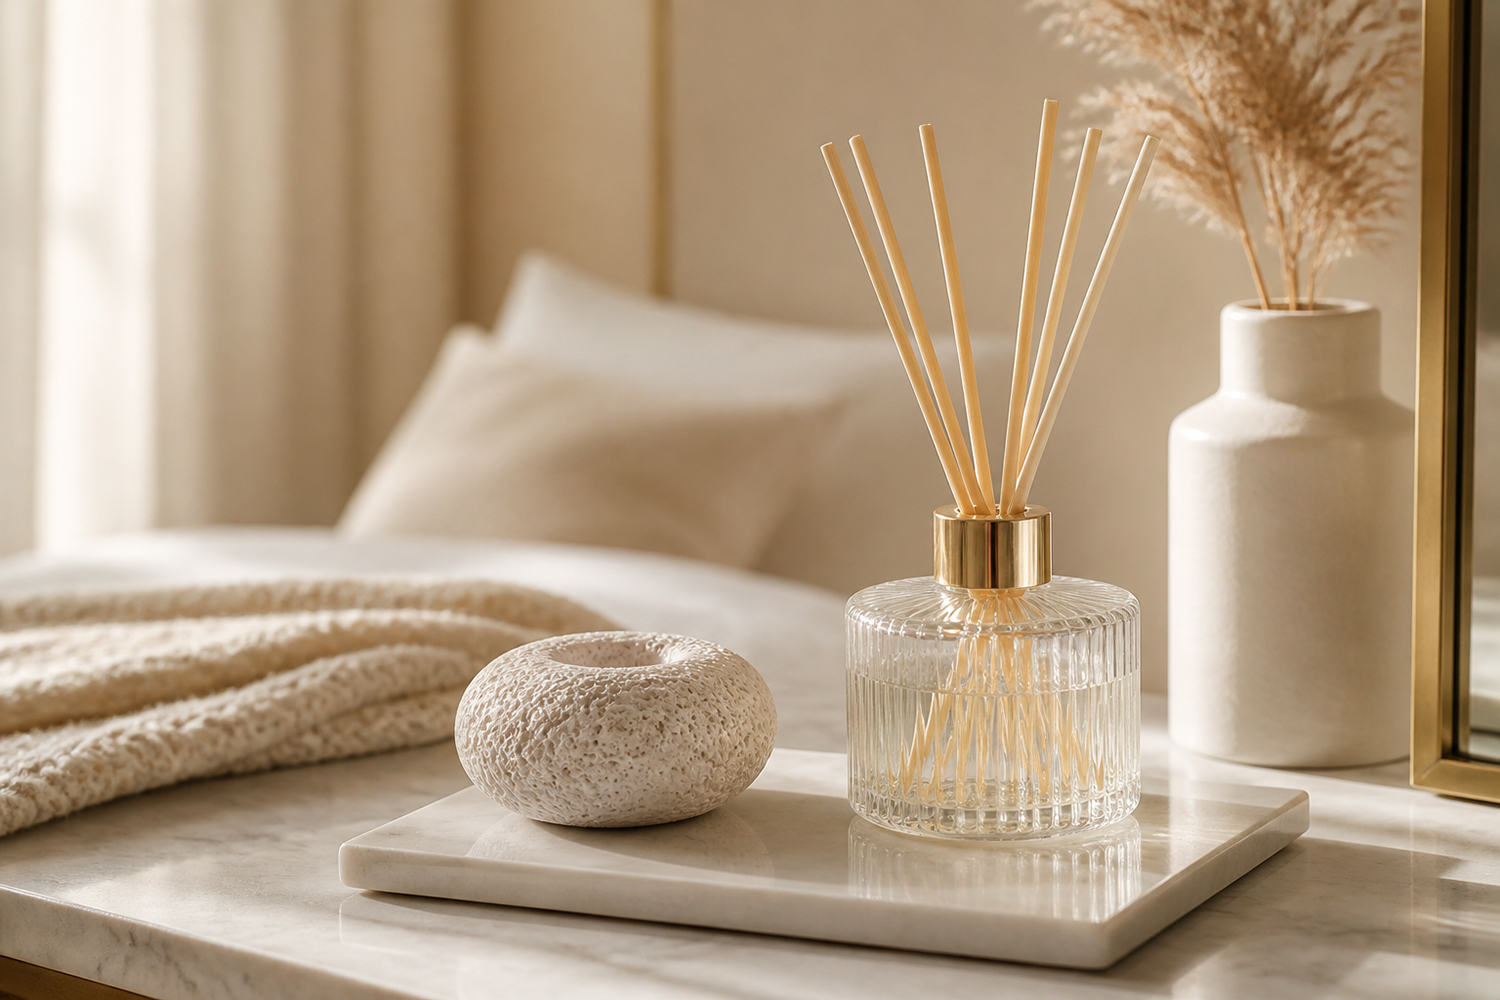
- Protect Your Surfaces: Even the best non toxic reed diffuser contains oils that can damage delicate wood veneers, painted surfaces, or fine fabrics if spilled. Always place your vessel on a decorative coaster or a marble tray to catch any accidental drips during the "reed flipping" process.
Step 4: Maintenance and Longevity Hacks
A high-quality reed diffuser can last anywhere from three to six months, but only if it is maintained correctly.
The Weekly Flip
To keep the aroma fresh, we recommend flipping the reeds once a week. This moves the most saturated part of the reed to the top, giving the scent throw a renewed boost. If you notice the fragrance is becoming too faint, a quick flip is usually the solution.
Managing Dust and Clogging
Over time, household dust can settle on the exposed parts of the reeds, clogging the microscopic pores and "choking" the diffusion process. If your reeds look dusty or feel brittle, it’s time to replace them. Pro Tip: Never reuse old reeds in a new bottle of oil; the pores are likely already saturated and won't draw up the new fragrance effectively.
Adjusting Intensity
If you find the scent overwhelming in a small space, simply remove a few reeds. Conversely, if you feel your big reed diffuser isn't reaching the corners of the room, ensure you are using high-quality fiber reeds, which often have a higher "climb rate" for oil than traditional rattan sticks.
Safety First: A Note for Families and Pet Owners
While reed diffusers are significantly safer than open flames, they still require a level of caution. The liquid inside is often flammable and should never be ingested.
- Out of Reach: Always place diffusers on high shelves or mantels where curious toddlers or jumping pets cannot knock them over.
- Check Ingredients: When looking for the best non toxic reed diffuser, ensure the brand explicitly states they are "Pet-Safe." Some essential oils (like tea tree or peppermint) can be irritating to cats and dogs if dispersed in very high concentrations, though the passive nature of reed diffusion is generally much safer than active misting.
Conclusion: The Invisible Element of Interior Design
In the world of home aesthetics, fragrance is the invisible element that ties a room together. By choosing a high-quality home reed diffuser, you are opting for a safe, consistent, and sophisticated way to enhance your environment. Whether you prefer the subtle notes of a best non toxic reed diffuser in your bedroom or the commanding presence of a big reed diffuser in your foyer, the key lies in the details of the setup and the consistency of the care.
By following these simple steps—choosing the right size, priming your reeds, and respecting the airflow of your home—you can transform any space into a welcoming oasis of calm. Remember, your home fragrance is an extension of your personality; let it breathe life into every room.
How long does aroma stone last
how to make room spray
Related Article