How to Clean Candle Jars: Freezer vs. Boiling Water
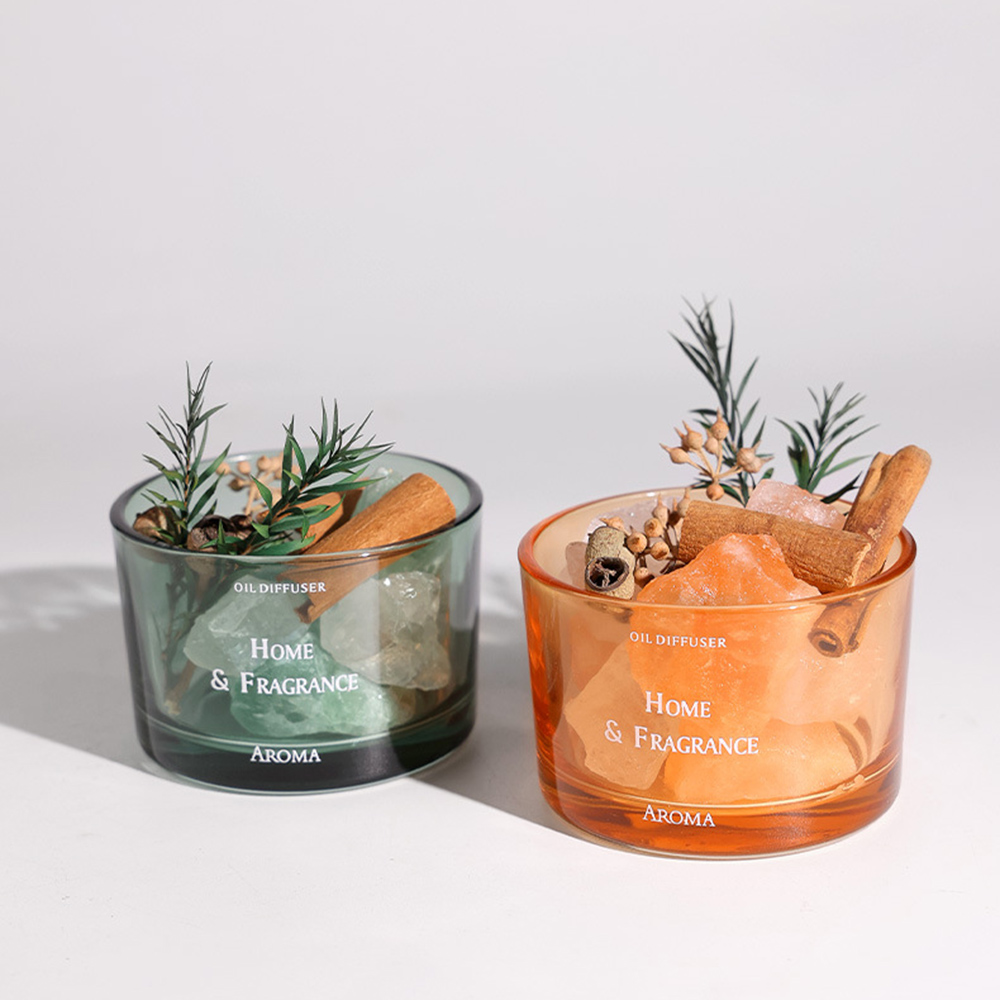
How to Clean Candle Jars: Freezer vs. Boiling Water – The Ultimate Guide to Upcycling
For candle lovers, there is a certain bittersweet feeling when a favorite scent finally reaches the end of its wick. You are left with a beautiful glass container, perhaps a custom ceramic jar, and about half an inch of stubborn, leftover wax at the bottom. Instead of tossing these high-quality vessels into the recycling bin, more and more enthusiasts are turning to DIY upcycling to give their containers a second life.
However, the main obstacle remains: how to clean wax out of candle jar effectively without damaging the container or making a massive mess in your kitchen. Whether you are looking to create a mini planter, a chic vanity organizer, or a spice jar, mastering the art of wax removal is essential. In this comprehensive guide, we will break down the two most popular techniques—the Freezer Method and the Boiling Water Method—to help you clean candle jars like a pro.

Why You Should Never Throw Away Empty Candle Jars
Before we dive into the "how," let’s talk about the "why." In an era of mindful consumption and zero-waste living, repurposing is more than just a trend; it is a lifestyle. Premium candle jars are often made from thick, heat-resistant glass or elegant stoneware that can last for decades.
By learning how to remove candle wax from jar, you are not only reducing waste but also acquiring versatile home decor items for free. From holding makeup brushes to storing high-quality loose-leaf tea, the possibilities are limited only by your imagination. Plus, the leftover wax you remove can often be saved and used in a wax warmer, ensuring you get every bit of value from your purchase.

Method 1: The Freezer Trick – The Cleanest Way to Remove Wax
If you prefer a method that involves zero heat and minimal cleanup, the freezer is your best friend. This technique relies on the basic scientific principle that wax shrinks when it gets cold, while glass remains relatively stable.
Step-by-Step Instructions:
- Preparation: Ensure the candle is at room temperature. Do not put a hot jar directly into the freezer, as the extreme temperature change can cause the glass to crack.
- The Freeze: Place your candle jar in the freezer for at least 3 to 5 hours. For thick soy wax or large jars, leaving it overnight is even better.
- The Pop: Once fully frozen, take the jar out. Use a butter knife or a sturdy spoon to gently press down on one edge of the wax. Because the wax has contracted, it should pull away from the sides and pop out in one or two solid "pucks."
- Wick Base Removal: Often, the metal wick holder will stay stuck to the bottom. Use the tip of your knife to gently pry it up.
Pros and Cons of the Freezer Method
- Pros: Extremely clean; no liquid wax spills; preserves the wax for reuse.
- Cons: Not ideal for jars with narrow necks; requires several hours of waiting time.
If you are wondering how to clean wax out of candle jar without getting your hands greasy, this is undoubtedly the winning strategy for single-wick jars.

Method 2: The Boiling Water Pour – The Faster Alternative
If you are in a rush or dealing with multiple jars at once, the boiling water method is highly effective. This method is particularly useful for wide-mouth jars and softer waxes that might crumble in the freezer.
Step-by-Step Instructions:
- Safety First: Place your jars on a protected surface, like a thick towel or a silicone mat.
- Boil the Water: Boil enough water to fill your jars.
- The Pour: Pour the boiling water into the jar, leaving about an inch of space at the top.
- The Float: As the water heats the wax, it will melt and float to the surface. Let the jar sit undisturbed until the water cools completely.
- The Harvest: Once the water is cool, the wax will have solidified into a disc at the top. Simply lift the disc out, pour out the water, and you are left with a nearly clean candle jar.
Safety Note on Thermal Shock
When using this method, avoid pouring boiling water into very thin or cold glass. To prevent cracking, you can place a metal spoon in the jar while pouring to help dissipate the heat, or use "very hot" water instead of a rolling boil for more delicate containers.

Comparison: Freezer vs. Boiling Water – Which One Wins?
Choosing between these two methods depends largely on your goals and the type of wax.
- For Soy and Coconut Wax: These waxes have lower melting points and are softer. The boiling water method often works beautifully as they float up easily.
- For Paraffin and Beeswax: These are harder waxes. The freezer method is often more satisfying as they tend to pop out in clean, solid pieces.
- For Detailed Jars: If your jar has intricate patterns or a narrow top, the freezer method might be difficult to navigate with a knife. Boiling water allows the wax to liquidize and find its way out of small crevices.
Ultimately, to remove candle wax from jar, the boiling water method is faster for batches, while the freezer method is superior for maintaining a mess-free workspace.

Dealing with the "Sticky Stuff": Labels and Adhesive Residue
Once the bulk of the wax is gone, you are often left with two final hurdles: a thin film of wax residue and the sticky adhesive from the brand’s label. To truly clean candle jars so they look brand new, follow these pro tips:
Removing Wax Residue:
Simply washing with dish soap isn't always enough. Wipe the inside of the jar with a paper towel dipped in a bit of rubbing alcohol or white vinegar. This breaks down the oils in the wax and leaves the glass sparkling.
Removing Labels and Glue:
- Soak: Soak the jar in warm, soapy water for 30 minutes.
- The Oil Trick: If the glue is stubborn, rub a small amount of cooking oil (olive oil or coconut oil) or a commercial adhesive remover like Goo Gone over the sticky area. Let it sit for 10 minutes, then scrub with the rough side of a sponge.
- The Final Polish: Give it one last wash in the dishwasher or with hot soapy water to remove the oil

5 Creative Ways to Upcycle Your Cleaned Jars
Now that you know how to clean wax out of candle jar, what should you do with your new collection? Here are some minimalist and aesthetic ideas:
- Propagating Plants: Small clear jars are perfect for water-propagating Pothos or Monstera cuttings.
- Bathroom Essentials: Use jars of varying sizes to hold cotton balls, Q-tips, and reusable makeup pads.
- Office Chic: A heavy, luxury candle jar makes for a sophisticated pen holder or a paperclip bowl.
- Gourmet Kitchen Storage: Small jars are excellent for holding DIY spice blends, salt, or dried herbs.
- New Candles: Why not try your hand at candle making? Use your cleaned jar as the vessel for a new, hand-poured creation.

Conclusion: From Waste to Wonder
Cleaning your candle containers doesn't have to be a chore. Whether you choose the cold precision of the freezer or the rapid heat of boiling water, the result is the same: a beautiful, functional object that has been saved from the landfill.
By taking the time to clean candle jars, you are participating in a cycle of sustainability that honors the craftsmanship of the original product. So, next time your favorite candle burns down, don't say goodbye. Instead, grab a spoon or a kettle, and get ready to transform your space with a touch of upcycled elegance.
Is Your Room Spray Safe for Cats? Best Non-Toxic Alternatives for Pet Owners
What Are the Best Reed Diffuser Sticks? A Complete Guide to Superior Home Fragrance
Related Article